Sunday, January 15, 2012

NAS 110/220/440 part5: Download manager (Debian)


This is the last of the series that describe how the NAS can behave as a linux server (DLNA, webserver, bittorent). About the end of this tutorial you should be at about the 75% of your space in the NAS (issue the "df -h" command).

Saturday, January 14, 2012

NAS 110/220/440 part 4: Bittorent client to NAS 110, 220, 440 (Debian linux)


Transmission (headless server)

Transmission is great, but in lenny you get a very, very old version. There is way to get the latest or from backports but I would suggest compiling the latest from trunk. I have compiled the 2 packages needed...
And they are right here:


Older version:
libevent-2.0.16_1-1_armel.deb
transmission_2.42-1_armel.deb

Newer version:
1. transmission_2.77-1_armel.deb
2. libevent_2.0.21-1_armel.deb
3. (not sure it is needed, but here you go) intltool_0.50.2-2_all.deb

A simple dpkg -i *.deb should do the trick. Just follow the settings part for all the install methods below...


Otherwise:

  • Install transmission (from backports)
    nano /etc/apt/sources.list
    # Add those lines:
    • # Backports repository
      deb http://backports.debian.org/debian-backports lenny-backports main
    aptitude update
    aptitude install libcurl3-gnutls libevent-1.4-2
    Then download from here (common, cli, daemon)
    dpkg -i transmission-common_1.77-1~bpo50+2_all.deb
    dpkg -i transmission-daemon_1.77-1~bpo50+2_armel.deb
    dpkg -i transmission-cli_1.77-1~bpo50+2_armel.deb

NAS 110/220/440 part 3: Install a webserver (lighttpd, mysql or sqlite, php5)

php

Well, this is easy...
  • Install webserver, sqlite, php5
    aptitude install lighttpd php5-cgi php5-cli php5-sqlite

Monday, January 9, 2012

Replace the disk in NAS 110/220


So we bought a crappy disk drive from Seagate (not to mention an overpriced logic board and system that does nothing important) and probably failing after a year the most. Well, fear not, as you can change the drive with another one... (bigger?) and better.

I have not tried this myself as currently the prices have gone up for the hdds, but according to Linuxoid
http://forums.seagate.com/t5/BlackArmor-NAS-Network-Storage/BlackArmor-NAS110-How-to-replace-drive/m-p/98958#M3784

1. Disconnect power and Ethernet cables
2. If you read from the beginning of my post, I just used brutal (but reasonable) force to crack it open. If you're not prepared to do this, then this HowTo may help: http://crapnas.blogspot.com/2010/04/opening-box.html3. Pull the failed HDD out (don't pull out the remaining stuff, just the HDD)
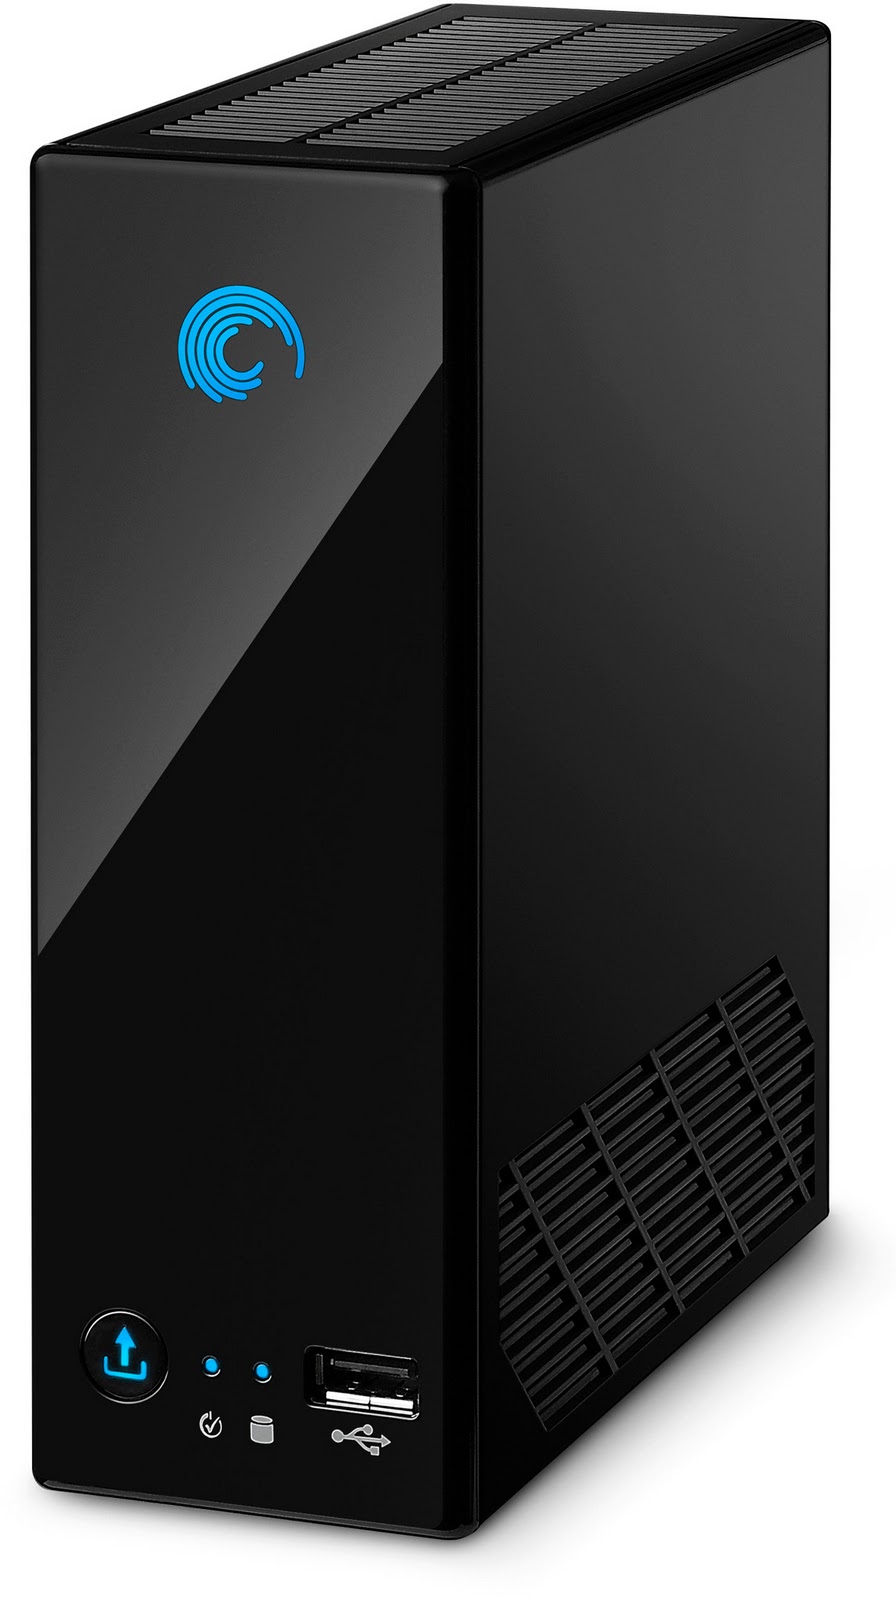
4. Buy a new HDD (I've aways only purchased Seagate drives, but after that bullsh*t they gave me, just as a matter of principle, I purchased a 2 TB Hitachi HDD which has much more only positive reviews than Seagate's. From now on, I'm not buying anything from Seagate if they're so stupid).
5. Slide the new HDD in
6. Connect power and Ethernet cables
7. The NAS will format the drive itself (takes about 5-10 min)
8. Log in (it resets the admin password back to admin and sets IP to dynamic, check in the router which IP it got allocated)
9. Go through the rest of the shares and users setup

That's it! Not designed for the hard drive to be replaced my a*s! Couldn't be easier.

Of course you'll loose all your warranty doing the above. But I was not going to give them 1 TB of my personal stuff.

So there you have it. The NAS 110 can become the best DLNA server with a bigger and better hdd.

NAS 110/220/440 part 2: Install minidlna in Blackarmor 110 (linux debian)


Well, following previous post that we installed in our little NAS a linux distribution, why not use our little NAS as a DLNA Server? I personally prefer MiniDLNA as it uses less resources and less dependencies. But it is up to you.

I also have a minidlna deb file ready for your needs (so as not to compile everything from scratch). However you will need to configure the minidlna.init.script (put it in init.d folder) and the minidlna.conf files.
(minidlna_1.0.22-9-1-2011-1_armel.deb)

In case you want some newer packages/requirements and you don;t want to compile them for yourself, here they are:


1. minidlna.1.0.25-1_armel
2gettext_0.18.2-1_armel
3. m4_1.4.16-1_armel
4. automake_1.13.1-1_armel
5. autoconf_2.69-1_armel
6. checkinstall_1.6.2-1_armel

Update: Please click on one ad (no more as it may be considered as fake) in order to support my time compiling and finding the errors in compiling these packages. Thanks. :)

Delete everything in a disk... even the GPT partition table

First of all, fire up the gparted live cd/usb and load gparted (info here).

Delete every single partition from your drive one by one. (delete and apply).Close gparted app but don;t reboot
Now the hard part will be to delete the GPT partition table, that has various copied along the disk.
When the kernel unintentionally identifies a disk's GPT (GNU partition table) it can be hard to get that partition table removed since it is repeated several times accross the disk space. The trick is to change the partition table on disk to BSD; the partition table that is most commonly used on x86 systems. Fire up terminal Change patrition table to BSD

parted /dev/sdjm mklabel bsd 

Next, if you also require to remove the BSD label use the well known trick: Remove BSD label

sudo dd bs=1k count=1 if=/dev/zero of=/dev/sdjm 

Finally rescan partitions to update the kernel state. Rescan partitions

partprobe

Saturday, January 7, 2012

Nas 110/220/440 Part 1: Install Debian Lenny in NAS 110 BlackArmor Seagate

  The info below will void your warranty... I will not be held responsible for any damage caused to your unit.
(although rest assured, there are many who have done it and nothing bad has happened... but still you are taking chances, just take everything as I say, step by step and you will be great)
We will need PuTTY. Download it here.

1. Enable SSH on the Seagate Blackarmor 110 NAS

  •  1. Download the 'unofficial' service pack (SP42) and use the manual firmware upgrade process through the web interface:
     http://www.noerenberg.de/hajo/pub/sg2000-2000.1337.sp42.img

    Update: You have to rename the file to match the major model number of your NAS (sg1000-1000.1337.sp42.img for the 1xx series, sg4000-4000.1337.sp42.img for the 4xx series). (rename the file to correspond your NAS!)

Tuesday, January 3, 2012

How to hide a drive in Windows

This particularly useful when you want to hide the drive that Windows create as a Recovery Partition that enables system recovery without inserting the DVD. (nearly 100MB)

You could do it by editing registry.

Type regedit in start menu, then to HKEY_CURRENT_USER > Software\Microsoft\Windows\CurrentVersion\Policies\Explorer > NoDrives

Change REG_DWORD value. Values for the drives are:
A = 1
B = 2
C = 4
D = 8
E = 16
F = 32
G = 64
H = 128 etc., always double the last.

To hide several drives, add values together: for example value 40 hides drives D and F

source: here